How to Create a Local Backup Job Using Veeam Agent for Windows
How to Create a Local Backup Job Using Veeam Agent for Windows
This is useful when you need to comply with the 3-2-1 rule of backups:
- 3 copies of important data (1 production copy and 2 backups)
- 2 types of storage media (e.g. internal hard drive, external hard drive, USB flash drive, cloud copy, tape backup, CD/DVD, etc.)
- 1 copy stored in a different physical location and on a different network (or not on any network)
Follow These Steps To:
- Configure local backup to a dedicated eSilo Backup Server in your office.
- Configure local backups to an existing storage device you own, such as an network attached storage (NAS) device, USB connected hard drive, or shared folder on your network.
Create a Local Backup Job
- Open the Veeam Windows Backup Agent
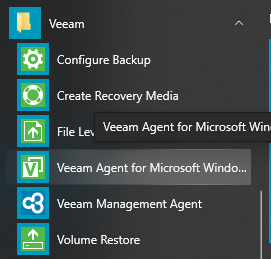
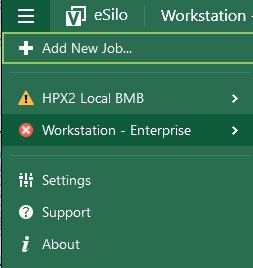
- In the upper left corner, click the 3 lines to expand the menu.
- Select Add New Job.
- In the window that pops up, Name the job.
- In Backup Mode settings, select Entire Computer.
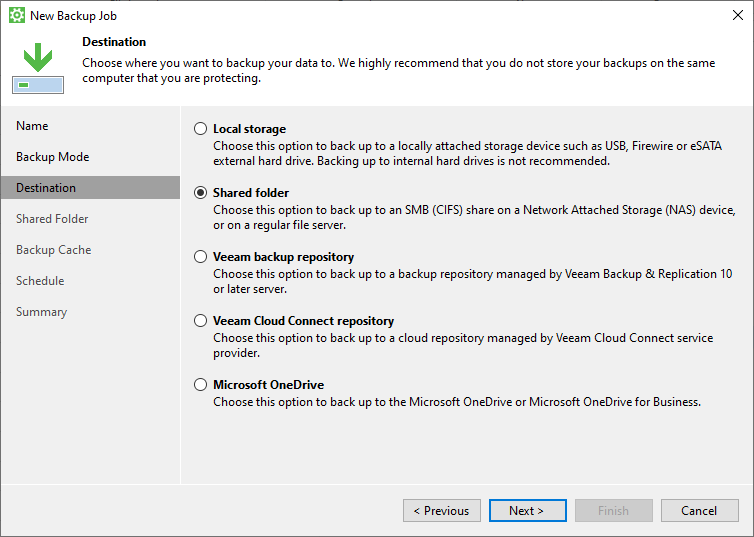
- In Destination settings:
- Select Local Storage only if backing up to a USB or other storage device directly attached to the machine.
- Select Shared Folder if configuring backups to an eSilo Backup Appliance.
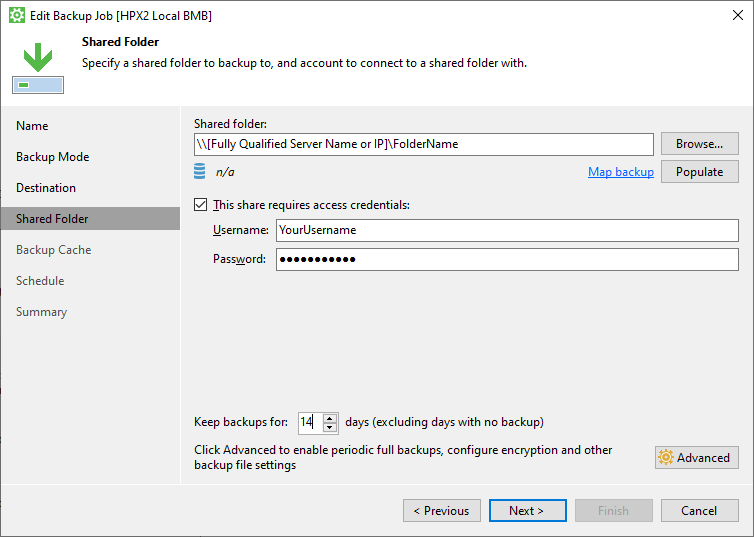
- For a Shared Folder destination, specify the fully qualified server name (or IP address), folder path, and if required, login credentials.
- When backing up to an eSilo Backup Server, use the IP address details in the Setup Instructions that came with your server.
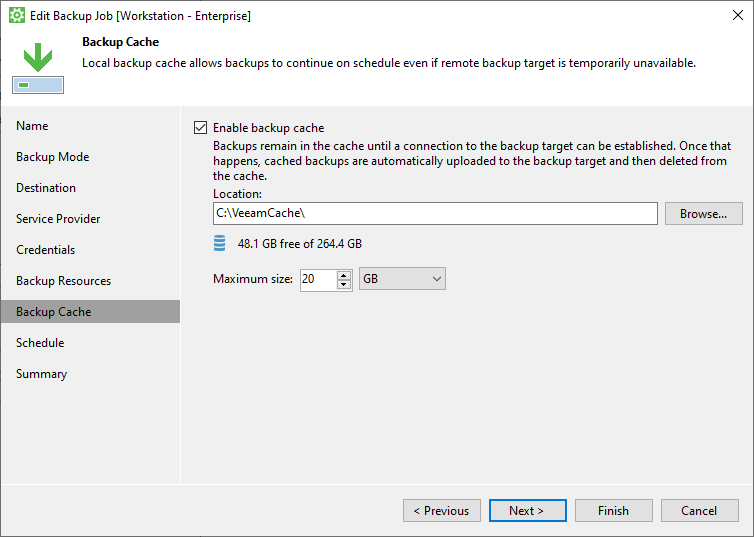
- If backing up to a Network destination, in the Backup Cache step, set a maximum cache size limit of 20GB.
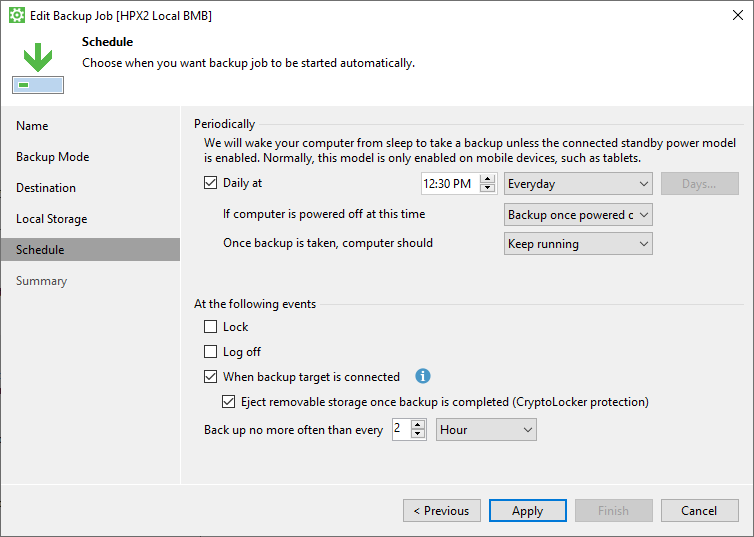
- Define the Schedule the backup should run. Uncheck the “Daily at..” box if you wish to run these manually only (not recommended).
- Click Apply to save the new backup job and view a summary of the details.
- Click Finish to exit the job setup wizard.
- It’s recommended to run a test backup to confirm everything is working properly. You can do this by checking the box to “Run the job when I click Finish“.
Was this article helpful?


